Three Different Takes on a Caviar Manicure for QVC’s Mani Mondays Celebration!
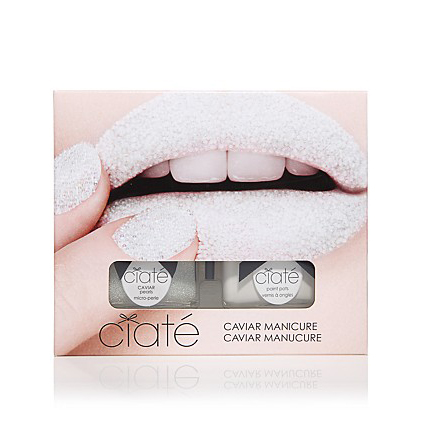
Today marks the first official Monday in October (last Monday was September 30th so clearly it didn’t count), and QVC is celebrating by turning our “manic Mondays” into festive “mani Mondays.” Every Monday in October, then, QVC will showcase some of the most exciting nail art trends of the season in its Instagram feed, using the hashtag #qvcmanimondays for the campaign. To build up anticipation for the month-long initiative, QVC reached out to some influential beauty bloggers asking them to create their very own designs using nail lacquers and kits available at QVC. I was fortunate to be among the bloggers selected and one of my first choices was the Ciaté Caviar Manicure Kit since textured nails are such a dominant trend this season. I opted for the Caviar Ciaté Manicure Kit in Mother of Pearl ($25 at QVC.com), which includes a Paint Pot in Snow Virgin, a creamy, blue-toned white shade, and a bottle of Caviar Pearls in Mother of Pearl, a white but spectacularly iridescent shade.
Using the Ciaté Caviar Manicure Kit in Mother of Pearl as my foundation, I set out to create three distinct looks — all of which I’ll feature here!
TRADITIONAL CAVIAR MANICURE
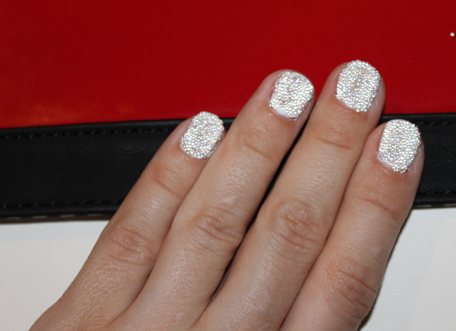
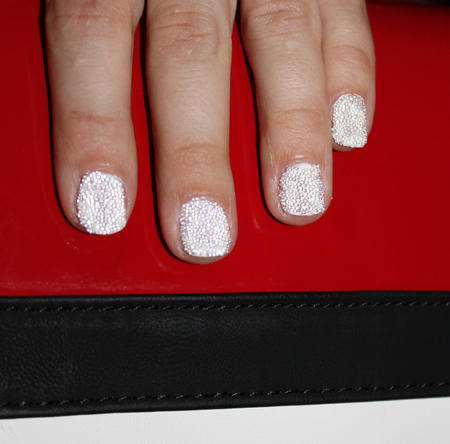
If you want a simple and traditional caviar manicure, all you have to do is paint your entire nail with the white nail lacquer in the kit, then follow up with a second coat to achieve full coverage. Then, working one nail at a time, you’ll want to apply the white nail polish and, while it’s still wet, pour the caviar pearls on top of your nail (the kit comes with a plastic tray so make sure to position your hand above this tray so that any excess will fall within the tray). Next, press the caviar beads down gently (while the polish is still a bit wet), so that they set on your nail and appear more compacted. Repeat this process one nail at a time until all your nails have the desired, pearl-covered look.
Once finished, you can unscrew the cap of the Caviar Pearls pot and, using the tiny funnel included in the kit, pour the excess pearls left on the plastic tray back into their bottle for future use (and easy clean-up!).
The white-on-white color scheme of this set is so luxurious that it will make you think of snow princesses and resplendent icicles.
SPLIT NAIL CAVIAR MANICURE
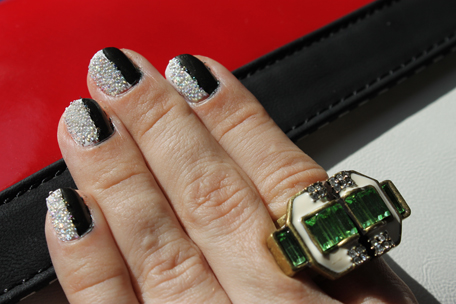
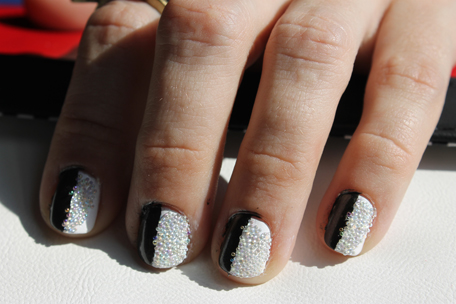
Now, I wanted to give the caviar manicure a bit of a twist. I figured one simple way to do so would be to apply the caviar beads to only one section of each nail. I then started thinking of how cool and graphic a look I might accomplish by taking a slick black nail lacquer with a metallic sheen and juxtaposing it against the white caviar treatment. I settled on a color-blocked, split nail design, with one half of each nail painted in a slick black hue and the other half painted in white and covered with caviar pearls.
To create this split nail design, I used the Ciaté Caviar Manicure Kit along with the Zoya Claudine nail lacquer ($8 at Zoya.com). I started by painting all my nails with the Ciaté Snow Virgin Paint Pot, applying two coats.
Once my nails were completely dry, I took strips of Scotch tape and positioned them vertically along the center of each nail so that the tape would cover the right half of each nail.
Next, I applied the white nail polish to the left side of each nail and poured the caviar pearls atop it, pressing the pearls down to compact them.
Once the caviar half of each nail was set, I removed the Scotch tape on each nail and painted the right half of each nail using the Zoya nail polish in Claudine.
TRI-COLOR LAYERED CAVIAR MANICURE
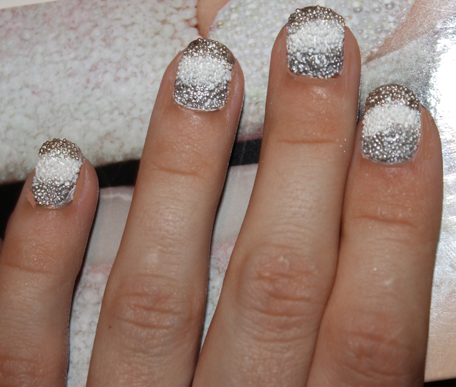
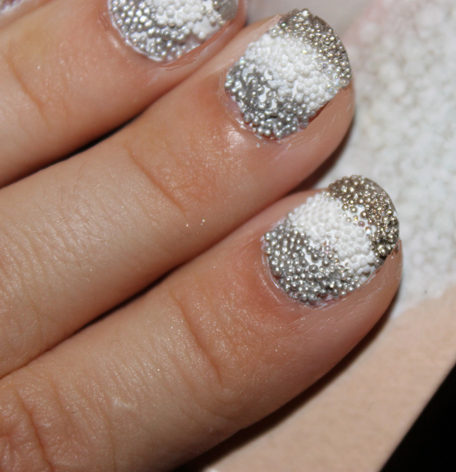
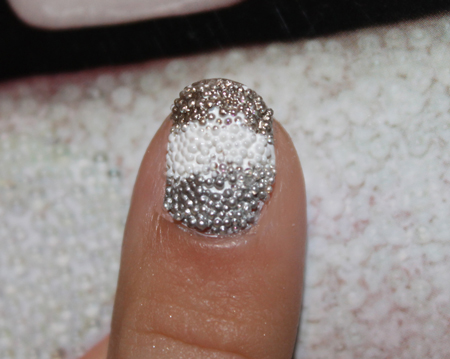
Since it’s just so fun to experiment with nails, I tried to create yet another look using the Caviar Manicure Kit as my foundation: a tri-color, layered caviar manicure. My inspiration was layered sand art, how colorful grains of sand are carefully color-blocked and placed within jars for decoration.
This look was the most complicated of the three, so I’ll start by explaining the supplies needed:

1. Ciaté Caviar Manicure Kit in Mother of Pearl
2. Silver Nail Lacquer (I used the Sally Hansen Complete Salon Manicure in Platinum Star)
3. Gold Nail Lacquer (I used the Sally Hansen Complete Salon Manicure in Coat of Arms)
Now, the first steps in creating this look are identical to those you’d follow to create a traditional caviar manicure. It’s only after the caviar manicure is set that you’ll get to work on reinventing it.
Once the caviar manicure is complete, reach for the silver nail lacquer and, using gentle dabbing motions, stipple the base of each nail so that the pearls take on that glistening silver color. Next, as if creating a gradient look, reach for the white nail polish within the Ciaté kit and, again, dab the brush on each nail, focusing on the center region. As you carefully dab the brush along the area, the caviar pearls along the center of each nail will become coated in the more opaque white hue. Last, you’ll want to reach for the gold nail polish and repeat the stippling motion, focusing only on the upper third of each nail.
You don’t want each layer to be too perfect (no straight edges) since there’s something about the slightly uneven lines between each “layer” that gives the look a more artful feel. You can, of course, use any colors desired to create this look, but I felt metallics would be really apropos for the fall and winter.
What do you think? Which look is your favorite?


