Playing Shell Games With New Ciaté Shell Manicure Kit
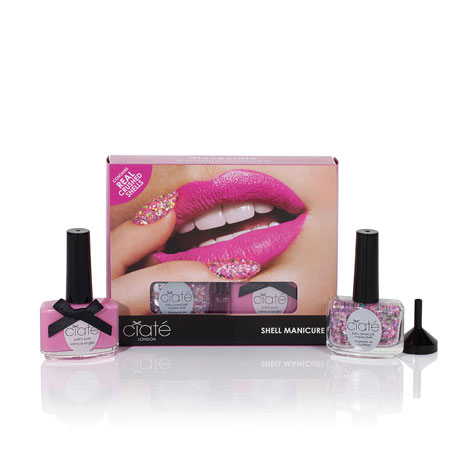
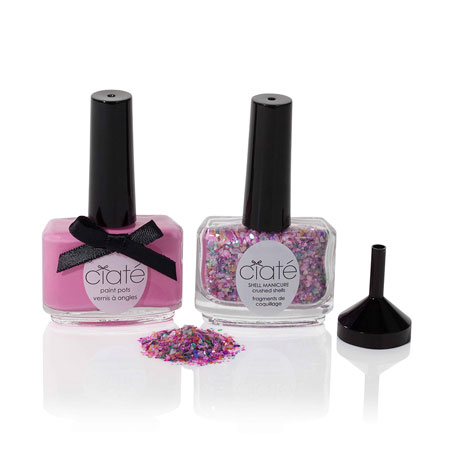
If only the “she” who sold seashells by the seashore had been hip to nail art — she would’ve made a killing selling tiny pots of colorful shattered shells! But, alas, the lady of the age-old tongue twister lacked the foresight to delve into the beauty realm. Fortunately, Ciaté picked up where she left off, developing a new beach-inspired kit that allows users to decorate their nails with colorful shell bits, creating a mosaic-like effect. The Ciaté Shell Manicure Kit ($25 at Sephora.com) picks up where its predecessors left off — among them the best-selling Caviar Kit and the Very Colourfoil Manicure Kit — by providing a simple approach to DIY statement nails. The kit incorporates a 0.46 oz Ciaté Paint Pot (a creamy nail lacquer), a 0.71 oz. bottle of crushed shells, a tiny funnel, and a plastic tray. Three color options are available: Wish Upon A Starfish (which incorporates a near-holographic, nacreous white polish with crushed ecru seashells), Mermaid You Purple (which includes a creamy, moody, grayish lavender purple with opalescent shells in shades of holographic plum, violet, silver, and white), and She Sells Seashells (a creamy, medium intensity, bubblegum pink paired with multi-colored shells in shades of opalescent baby pink, teal, violet, azure, fuchsia, and white).
To create your mosaic-inspired shell mani, you need to start by applying a base coat of the Ciaté Paint Pot shade in your particular kit. In my case, I used the She Sells Seashells kit and so the nail lacquer is a perky pink shade. The first coat won’t deliver full coverage but the second one will do the trick. After applying that first coat, wait until your nails are completely dry. Next, prepare for the subsequent step by laying out the plastic tray and uncapping the seashell pot. Here’s the tricky part: as you apply a second coat to each nail, you’ll want to pour the shells unto the damp polish so that they adhere to the lacquer. You’ll want to make sure to position your hand above the plastic tray so that any excess shells fall therein. Once each nail is covered with the desired amount of shell bits, gently press down on the nail’s surface to ensure the shells are set in their placement, thereby ensuring your mani has a greater longevity. You’ll then want to repeat the process with each nail, working slowly and methodically. Once all of your nails are coated in shells, wait 15 to 20 minutes to let your handiwork dry.
Next comes the clean-up process. Since most of the excess shell bits will be scattered inside the plastic tray, pouring them back into their pot will prove relatively easy. You simply need to use the enclosed funnel, positioning it inside the bottle’s opening and gently tilt the tray so that the shells fall inside the funnel and seep through its pipe-like tube.
Below, check out some photos of the mani I gave myself using the Ciaté Shell Manicure Kit in She Sells Seashells:
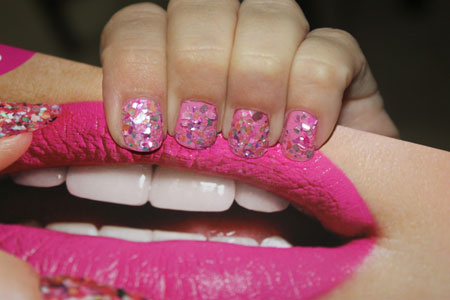
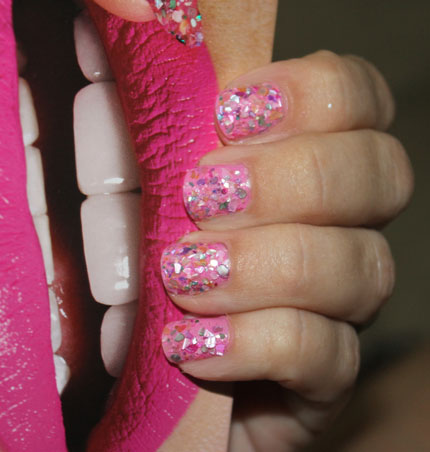
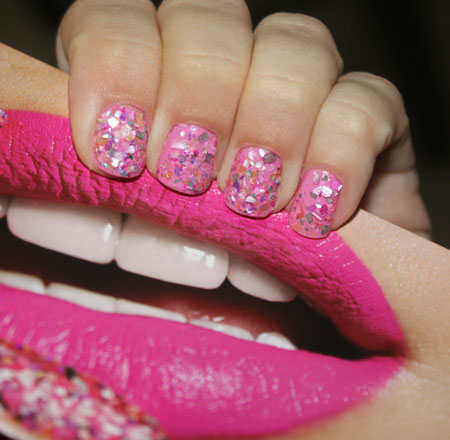
Cute, right? Now, here’s the only caveat: as with any embellished mani (including the Caviar Kit), the seashell bits will start falling off nails pretty rapidly — especially once you start washing your hands, taking showers, shuffling papers at the office, running your fingers through your hair, and so forth. You can expect your mani to last two to three days tops — and that’s only if you approach all of your daily tasks with the utmost caution. But, once you know the expected life span of your mani, you can plan accordingly as you create your embellished nail art look.
Before the summer is over, try infusing a bit of ocean panache into your nail look!


