Fashion DIY Project — How to Make a Textured Polka Dot Backpack
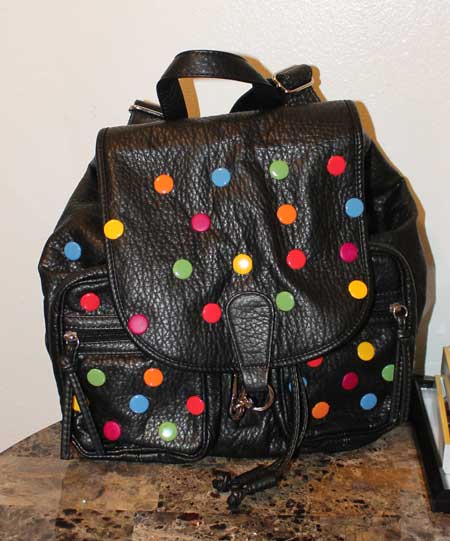
I’ve been on a do-it-yourself kick lately, a surprising turn of events given that I never considered myself a crafty sort. That being said, I do know my limits so you won’t find me trying to build a shelving system, crafting a mirror using seashells and driftwood, or repurposing a birdcage and transforming it into a floor lamp. To ease into the DIY space, I’ve been starting with easier, more realistic projects. My latest: the polka dot backpack shown above!
I got the idea for this backpack from P.S. I Made This who, with the help of Who What Wear, re-imagined the colorful limited edition backpacks birthed via a collaboration between Damien Hirst and The Row.
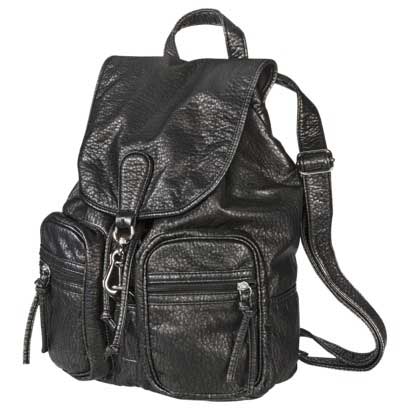
To create the backpack, I started by getting all the necessary tools. First, I purchased the Mossimo Supply Co. Large Backpack ($27.99 at Target.com and Target stores) to use as my canvas. Here’s what the backpack looked before my makeover:
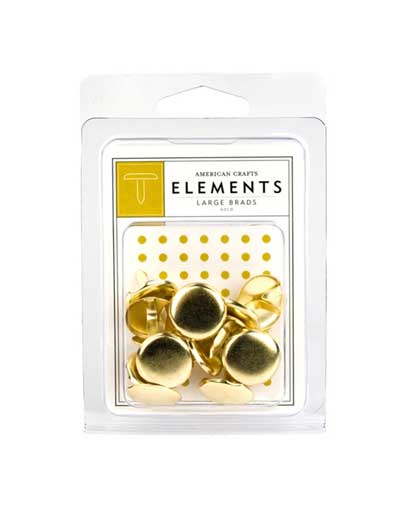
Next, I purchased three packs of large brads from American Crafts Elements ($5.83/pack at Amazon.com). If you have no idea what a brad is, it looks a lot like a flat-topped thumbtack but, instead of a single needle-like back, it has two pliable strips along the back that you can bend and flatten so as to secure the brad in place. For the best results, I chose the largest brads available, which measure 5/8″ in width. There are 16 brads in each pack so I would up using 48 brads in total. Here’s what the brads looked like when first purchased:
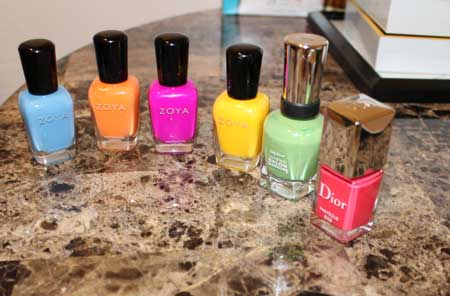
Next, for the fun part! I picked several nail polish colors and went about painting all the brads using these nail lacquer colors.
The colors I chose were:
Zoya Yummy: a pretty cornflower blue ($8 at Zoya.com)
Zoya Charisma: a deep magenta with purplish undertones and a matte finish ($8 at Zoya.com)
Sally Hansen Complete Salon Manicure in Parrot: a creamy key lime green
Zoya Arizona: a creamy Sunkist orange ($8 at Zoya.com)
Zoya Darcy: a warm creamy yellow reminiscent of the yolk inside a boiled egg ($8 at Zoya.com)
Dior Pasteque 658: a bright, warm, ultra-saturated honeysuckle pink that will remind you of cherry sorbets
Here’s a look at the shades I used:
Once I’d painted all the brads (some of them requires two to three coats for complete coverage, I let them dry overnight). The next morning, I started the process of attaching them to the bag. In order to do so, I used a ruler and a lip pencil to figure out the perfect spacing between brads and mark their positioning. Next, using a Swiss Army Knife, I created small incisions along the places marked with the lip liner. Next, I reached for a brad, stuck it in the sliced area and then took the two prongs along the back and bent them in opposite directions, flattening them until the brad was secured in place.
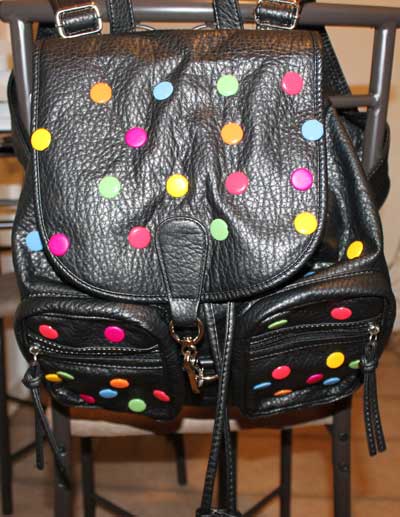
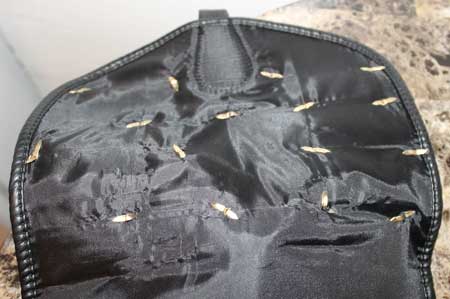
If you look at the picture of the top flap below, then, you can see how the brads were attached in place (side note: I’m going to paint these a solid black color so they can blend in more seamlessly when the backpack is open).
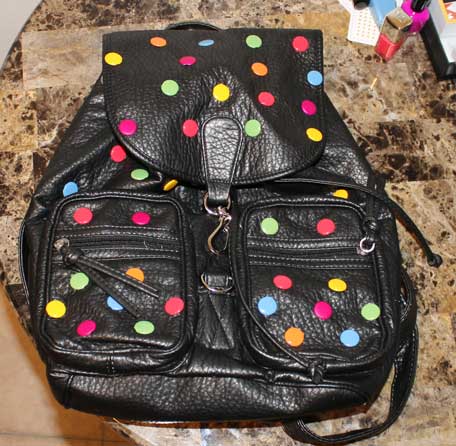
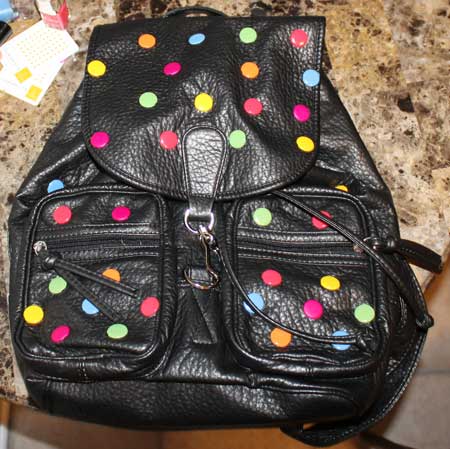
After I’d attached brads to the front of the backpack and the top flap, I also added some to the two front pockets. Check out a close up of one of the pockets below:
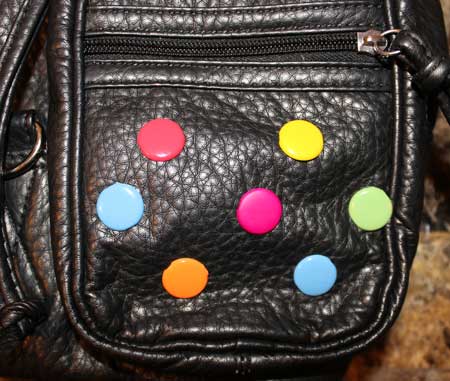
And that was it! Cool polka dot backpack with tons of texture complete!